Is every story you're assigned going to be visually stimulating? Sadly, no. But by following some of the tips below, you can make the most out of any story, especially the visually appealing ones (i.e. floods, fires, tornadoes, carnivals, plane footage, etc.).
1. Wide, Medium, & Tight Shots
.png)
This is one of the first lessons I learned in my first Video Production class. There's nothing worse than spending a couple of hours on a shoot, and then getting back to the editing bays and realizing you don't have a wide shot of the giant protest that was happening at 5th street.
Don't ever forget to gather each of these three shots. It'll make things so much easier when you're editing your footage.
2. Get Footage Of Your Interviews
Like most lessons, I learned this one the hard way. I worked as a video journalist this summer, which means I shot, edited, and wrote all of my own stories without the assistance of a photographer. One day, for whatever reason, one of the station's photographers was editing my story for me, since he had already shot a majority of the footage needed for the piece. It was like Christmas, until he asked me where my secondary shots of my interview subject were.
It all goes back to writing to your video. You can't talk about Sally if you don't have any footage of Sally. Just like my photographer couldn't find a good shot to use when I was introducing my interview, because I had no footage of them except for their interview.
If you're shooting by yourself, the process of getting additional footage of your interview can be awkward, but you get used to it.
Depending on the type of story, you can have them do some sort of action - i.e. picking plants out of a garden, or riding their bike up and down the street.
You can also jump into the frame yourself and simply act like you're talking to your subject. This two-shot is very useful in the editing process.
3. Don't Be Afraid To Get Close
Zooms are amazing. I have no idea how I would do my job without them. They come in handy in so many situations when you're not able to get close to a scene (this is especially true when dealing with car accidents and crime scenes). However, it's important not to rely on the zoom when you are capable of getting closer.
Don't be afraid to bring your camera and tripod right next to that sizzling steak on the grill, or the antique piano that's been in a family for four generations.
4. Move Around
When you're on a shoot, make sure you're not standing in the same spot for too long. Don't be afraid to get up and move around. Sometimes, you never know what type of shot you're going to get from a different angle or perspective. That being said, remember that you're not just shooting randomly - you're always shooting in a coherent sequence.
Click here to learn more about shooting in sequences.
You also need to remember the 180 degree rule, as illustrated below. Don't shoot from the other side of that line, or you run the risk of visually jarring the viewers.

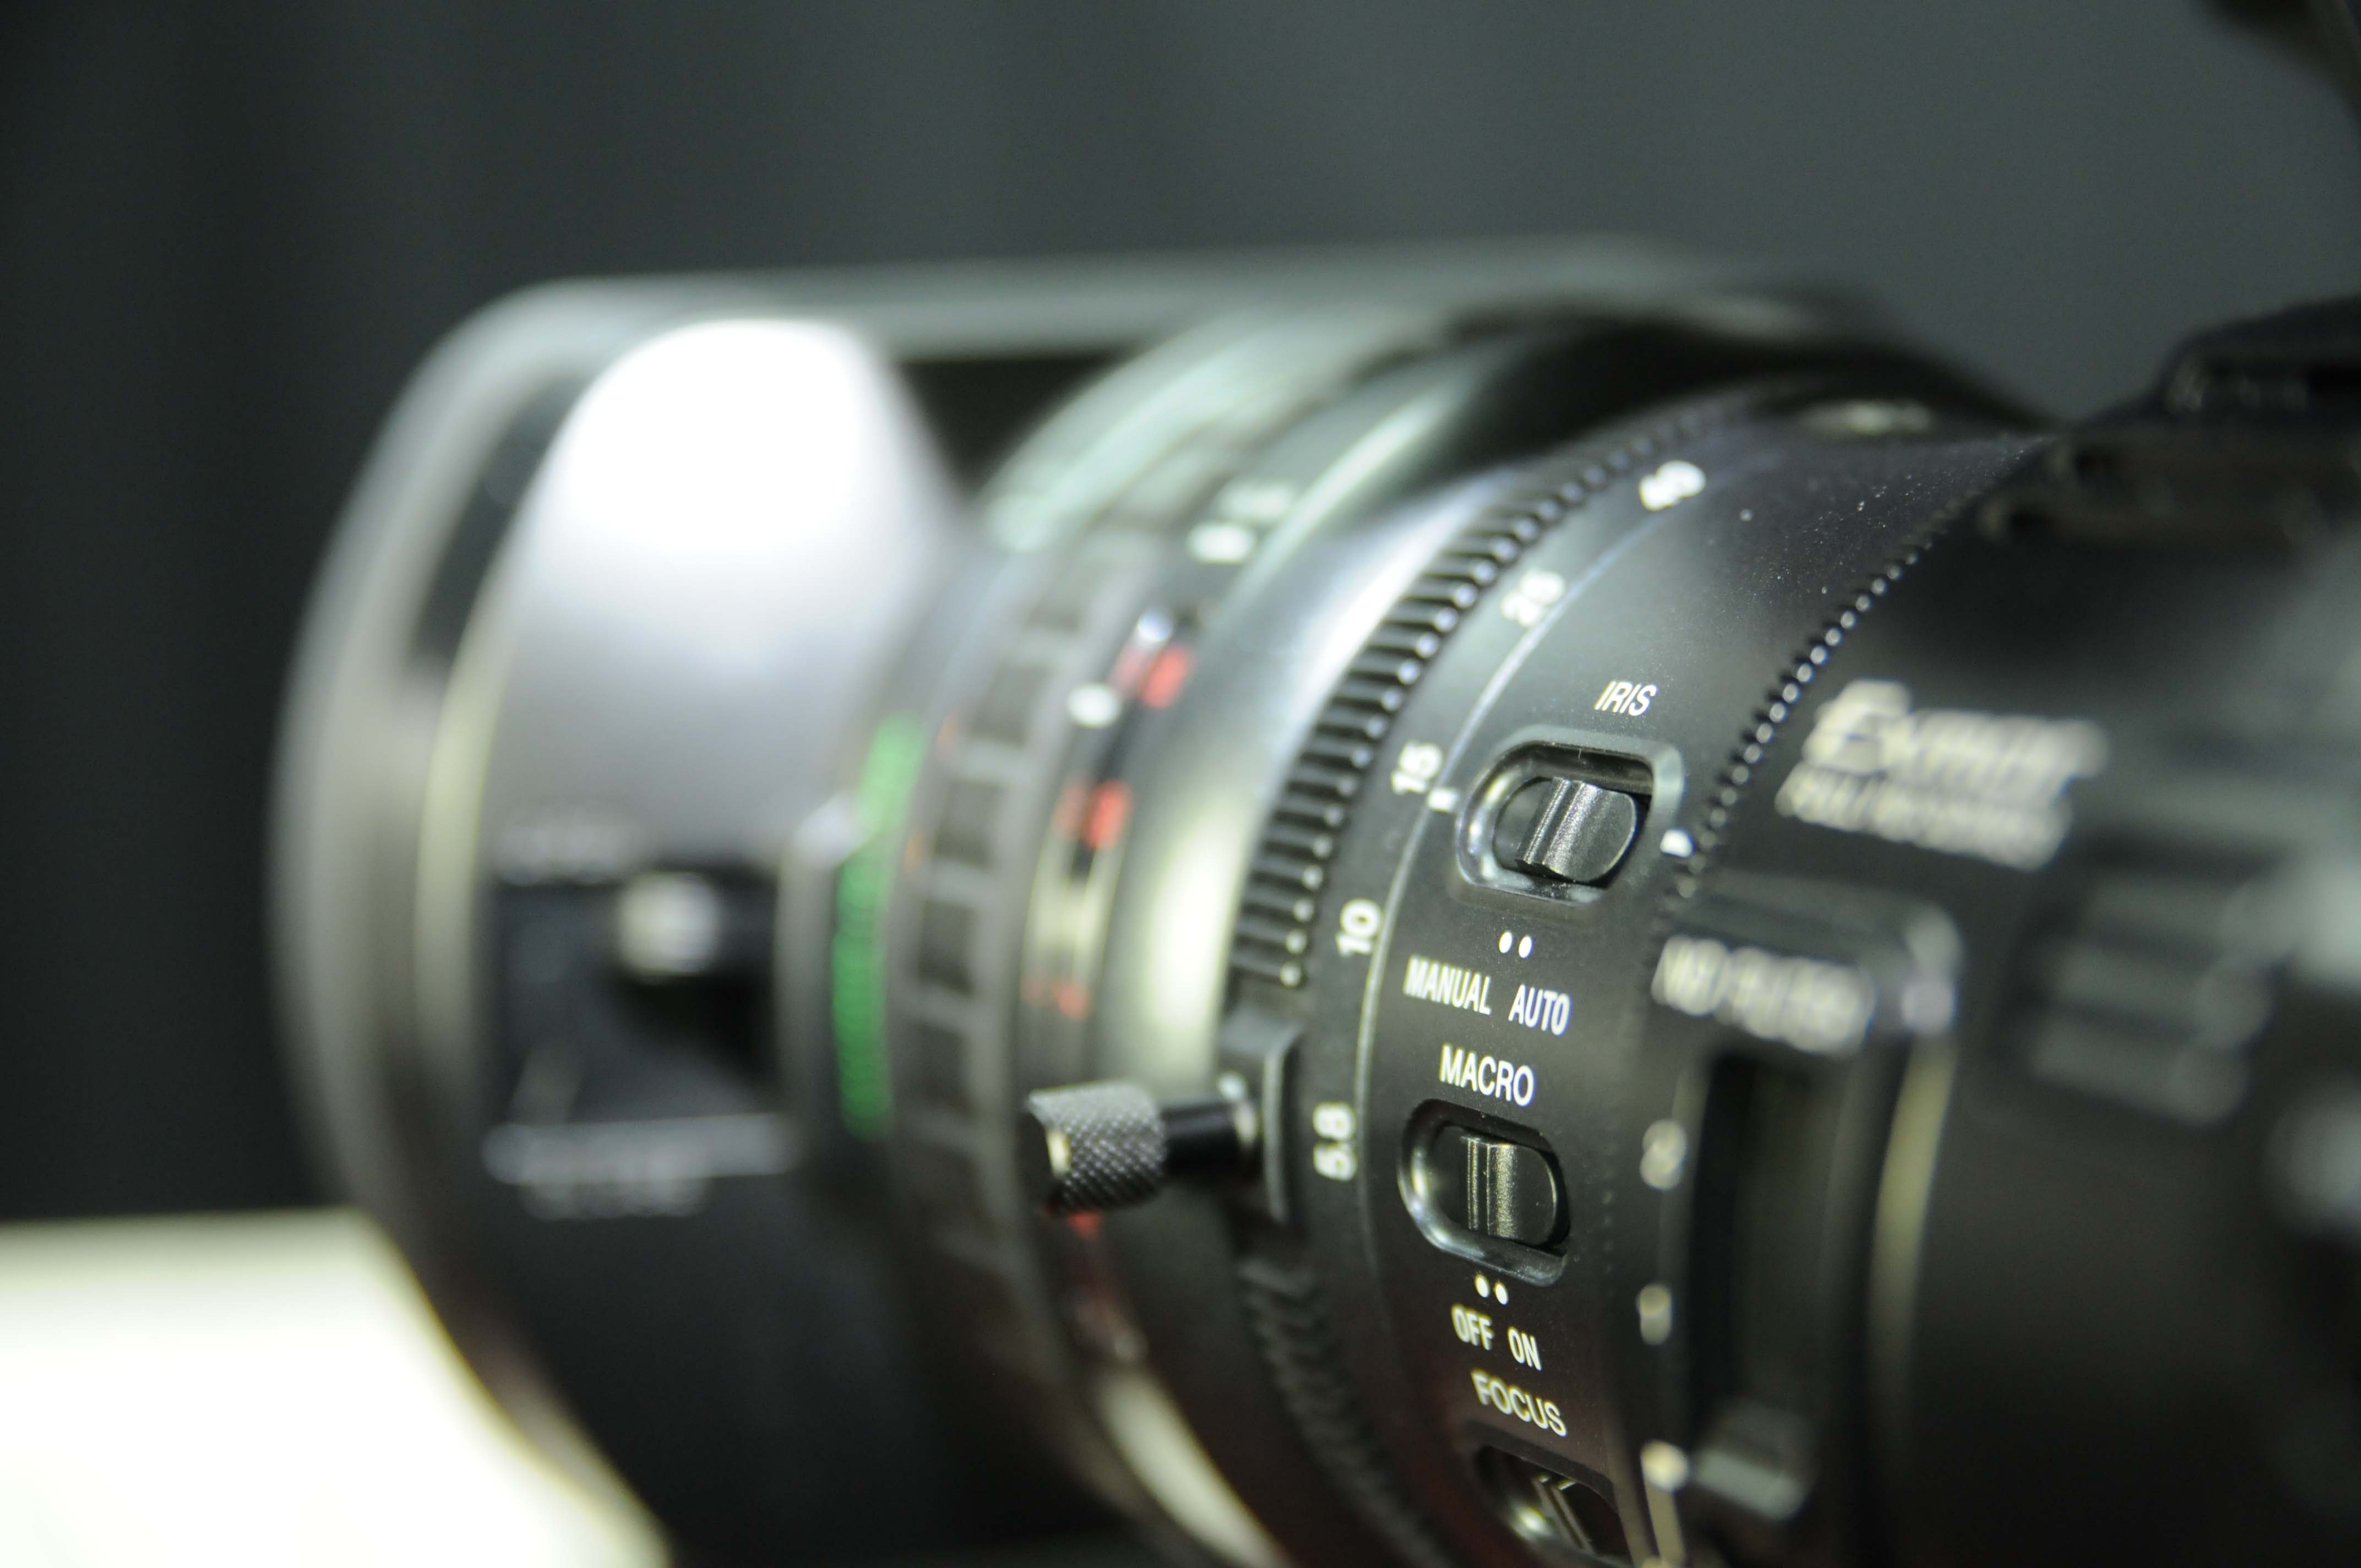
5. Manual Focus On All Interviews
Auto focus, just like the zoom feature, is awesome. Except for when you're shooting interviews. In that moment, your subject's face is the most important thing on the screen. You can't run the risk of that prominent object being out of focus because a bird flew in the background and demanded your auto focus' attention. Using manual focus ensures that this won't happen to you.
6. Have Extra Batteries With You At All Times

You have to be prepared for any situation. Make sure you have enough batteries to re-load all of your microphones, etc. at least once.
7. Always Have A Light

Dimly, or florescent-lit interviews are the worst. Always bring light kits with you. They may be a pain to haul around, along with your tripod, camera, and microphones, but you'll be thankful for that light when you're standing in a high school gym with dim, blue-ish overhead lighting. It's amazing the difference that one small light can make. Don't leave home without it.
(PSA: Most of these lights get very hot, very fast. Avoid a painful burn by using caution, and letting the lights cool down a bit before you pack them up)
8. Don't Be Afraid To Go Hand-Held
Sometimes, you can get even better shots by taking your camera off of its tripod.
Check out these tips to get solid, usable hand-held footage.
9. Wear Headphones At All Times

Most cameras have bouncing audio levels on their digital screens, but this doesn't mean your audio is being recorded correctly. One of your microphones could be unplugged, off, or out of batteries. Even worse, you could have two microphones attempting to transmit to the same audio channel, which results in a terrible sound (Been there, done that. It's bad. Avoid it at all costs).
To dodge these regrettable situations, always have a pair of headphones plugged into your camera. They don't have to be fancy - the simple Apple earbuds that come with all iPhones will do just fine. Keep these devices in your ears as much as possible to ensure the best capture of sound, (especially during your interview).
10. White-Balancing Is Your Friend
It sounds unnecessary when you have auto-iris capabilities, but just like I mentioned earlier with the manual focus during interviews, it's better to not leave these types of things up to chance. It's simple to avoid a blue-ish tinted interview. Just hold the white piece of paper in front of the camera and press the iris button.
No comments:
Post a Comment