Wednesday, October 14, 2015
Promoting Your Story On Social Media
In a World where Twitter, Facebook, Instagram, and an endless number of other social media sites exist, it simply isn't enough to only prepare your story for broadcast anymore.
As a broadcast journalist, not only do you have to focus on shooting, writing, and editing a story, but you also have to consider how you're going to promote this story to further build your personal brand and online presence.
With so many social media platforms available, it's foolish to not utilize them.
To illustrate how journalists are using social media to build their own brand, take a look at this infographic.
As you can see, the digital age is propelling the world of journalism across multiple platforms. Here's a few ways you can utilize those resources.
1. Post "Behind-The-Scenes" Footage
As humans, we're naturally curious. We enjoy consuming "exclusive" content that we wouldn't normally see on a daily basis. This is why there always seems to be a "back-stage" reporter at major award ceremonies, like the Emmys. It's one thing to see a celebrity giving an acceptance speech online. It's another thing entirely to see them on their way to their dressing room, or conversing with other celebrities.
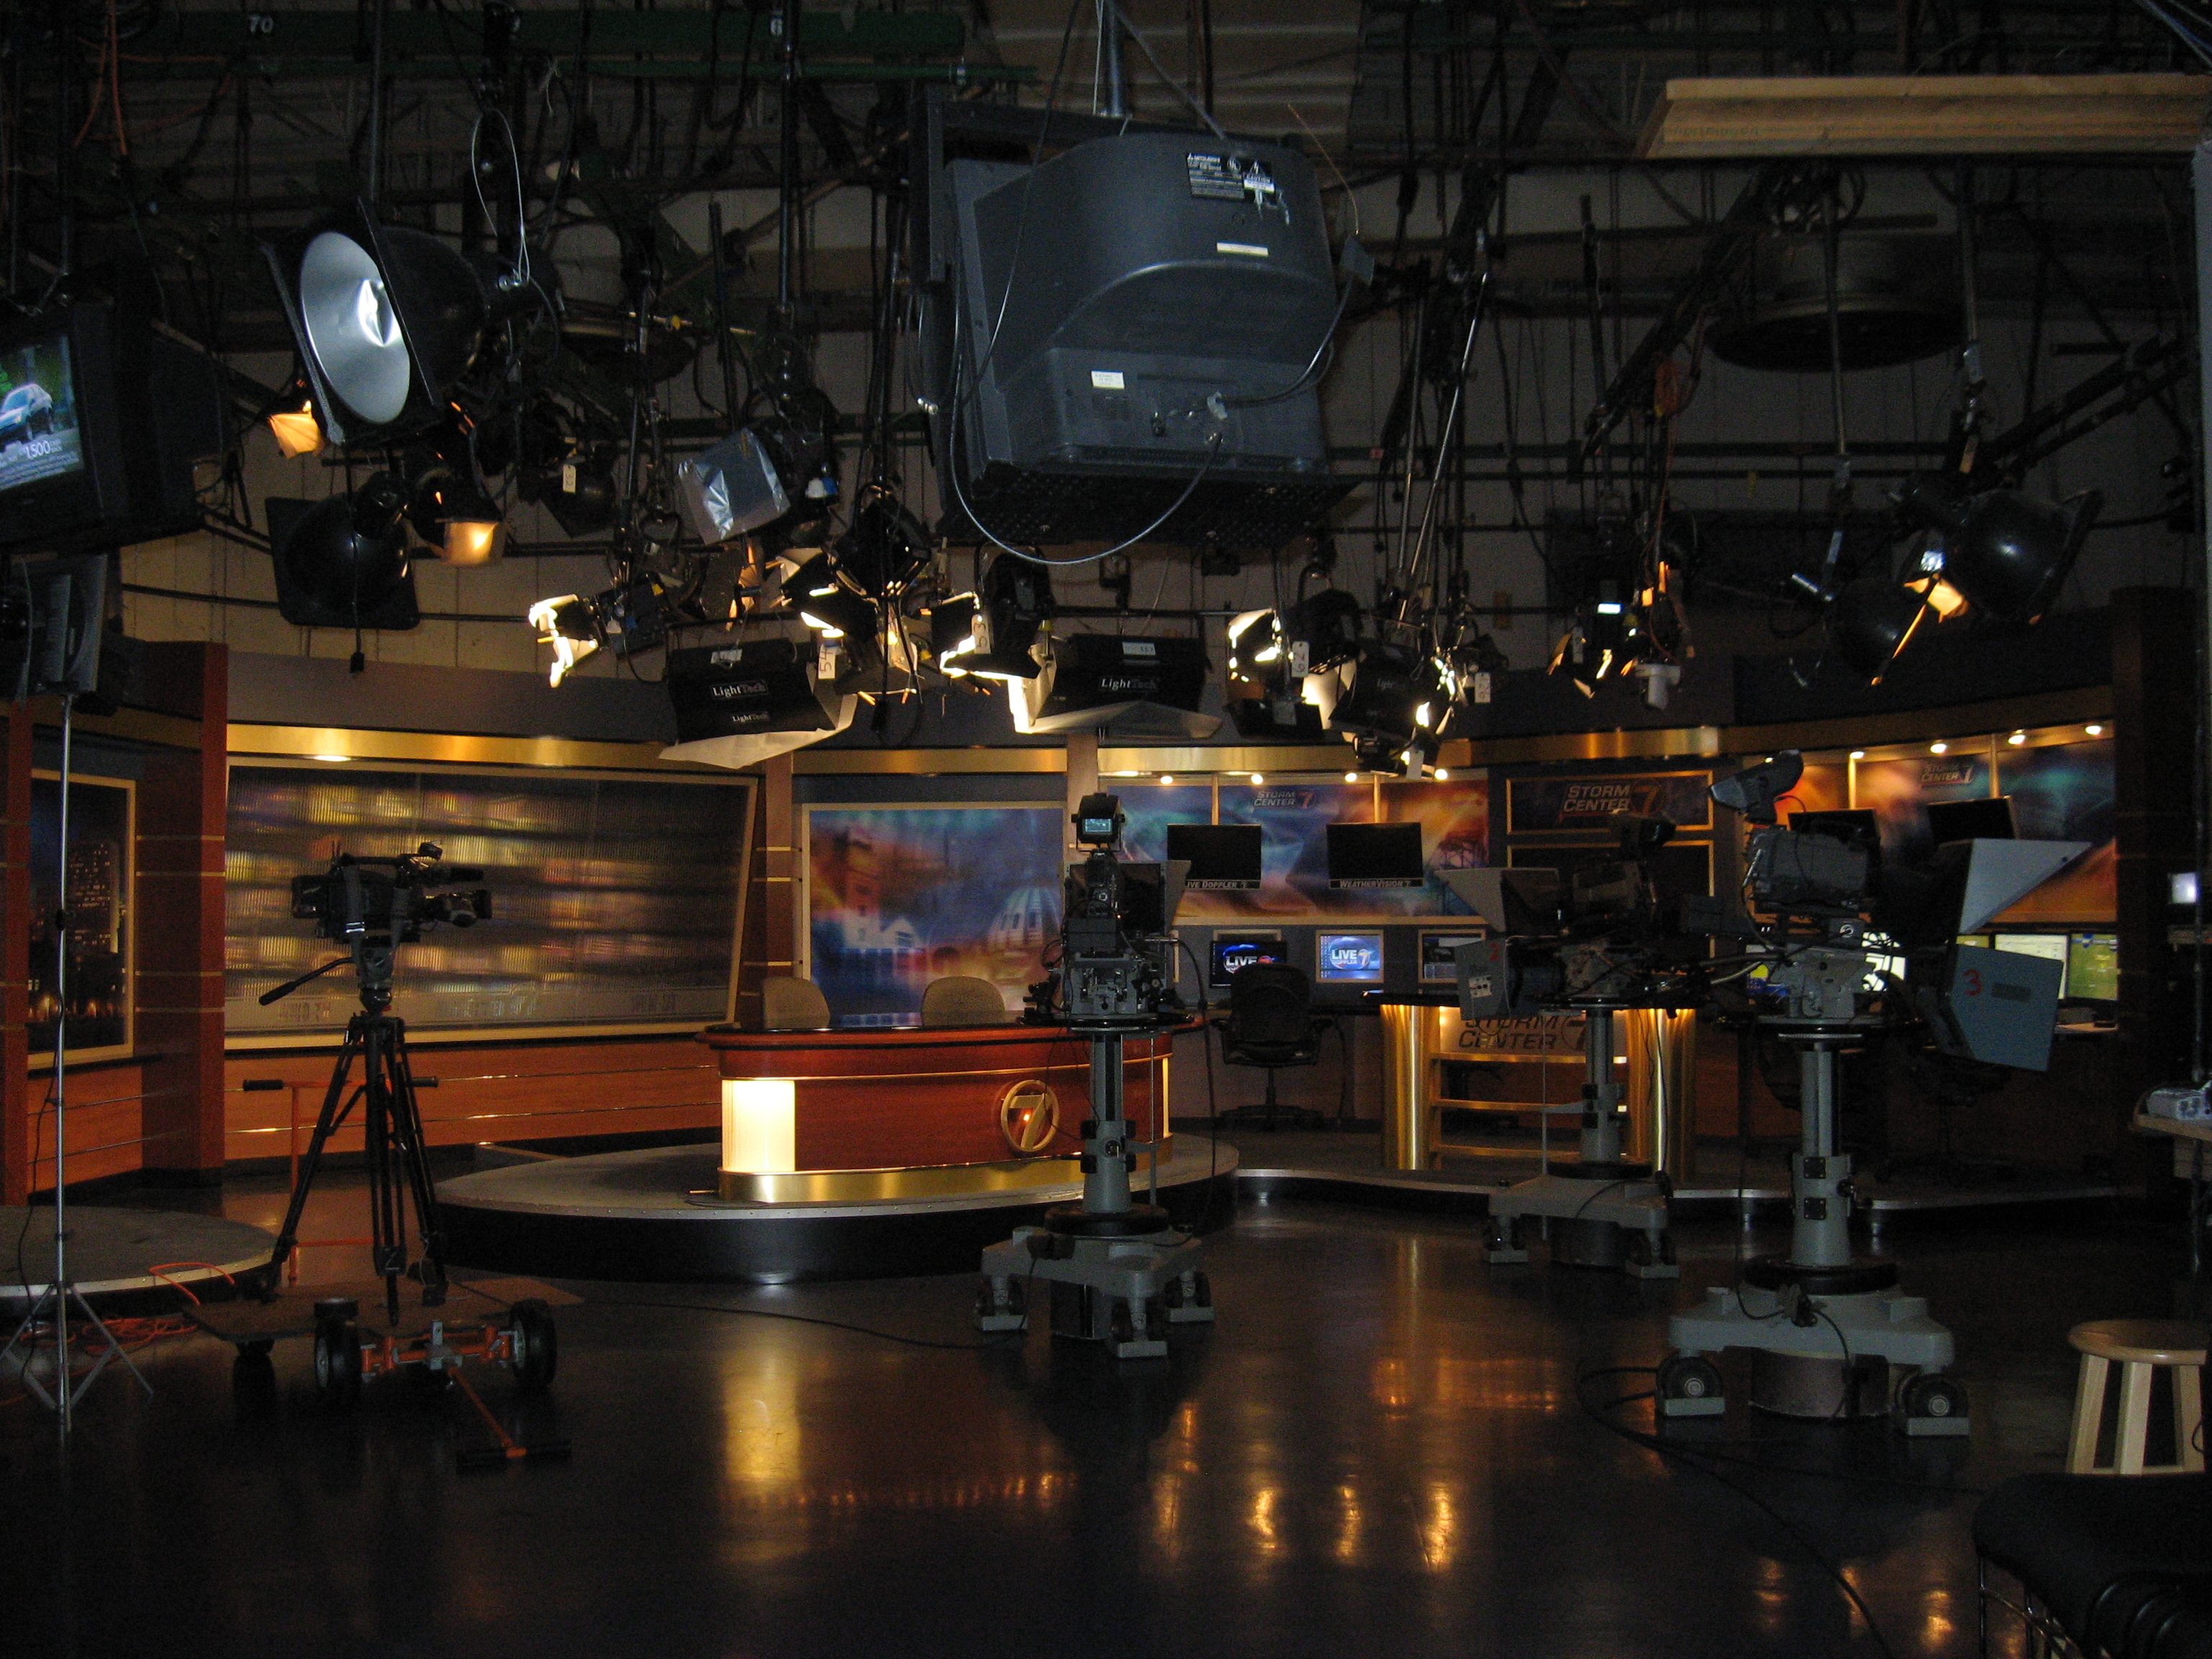
The same concept is applicable to your career as a television journalist. Viewers are accustomed to seeing an anchor sitting behind a desk, but they aren't used to seeing them from a wider angle - which captures the lights, cameras, cables, and green screens that accompany many television studios. This is the type of content that'll attract followers and "likes," because it gives people an inside look at your line of work.
2. The Importance Of Before, During, and After
Although this rule is sometimes difficult to follow, (especially in breaking news situations), it is a really good habit to get into as a broadcast journalist.
Before: Once you have a general idea of what your story is for that day, or who you'll be interviewing as a source, compose a brief tweet letting your followers know what they can expect later on in the day.
I.e. "Today, I'm talking with Senator Thune about South Dakota's newest education bill. What he has to say, tonight on @newsstation at 5.
During: Let's say you're covering an arts festival where there are thousands of people - post a picture to grab your followers' attention.
I.e. "Currently at the Fall Arts Festival in Brookings - tune in tonight to find out how one vendor is turning his profits into a wish for Sally Smith."
After: This is where you include the link to your online story, so your followers can watch your finished product.
I.e. "Authorities say violent crimes are increasing in Vermillion, check out my story to find out why - LINK"
3. Get Creative
There are a lot of different ways to garner attention on social media. One of the most popular ways to do it: post a selfie with someone you interviewed. For example, let's say you had an intriguing conversation with a Senator. If you're feeling bold, take a selfie with him. Chances are, he'll say yes, and your followers will enjoy the "exclusive" content.
I've seen news reporters do this very well: Take a video of yourself before, or during a story shoot. All you have to do is talk about what you're going to be covering, and why it's important for your followers. Obviously, this is pretty informal, so keep your tone conversational and inviting.
4. Interact With Your Followers
This goes without saying, but don't neglect your followers. If they tweet at you with a question, or comment, respond to them. This is a great way to show that you not only maintain an online presence, but you're active on it.
Read more about how social media is increasingly affecting the realm of journalism.
The Finishing Touches: Editing For Broadcast
At this point in the story process, you've got your footage, your interviews, and a polished script. Now, it's time to throw it all together through the magic of editing.
I've used a variety of editing Software during my time as a broadcast journalist, including Final Cut Pro, Edius, and Premiere Pro. Although each program has its own specific layouts and shortcuts, I've found that they all utilize the same general tools and capabilities. That being said, it's important to fully understand what your program is capable of.
1. Get Familiar With Your Software
Rule #1: Know the software you're using. Whether it's on the job, or through a class, make sure you've been properly trained. There are plenty of books, online blogs, and tutorials out there to walk you through the basics.
2. Organize Your Footage
This tip is more applicable for long-form stories that contain larger amounts of footage, but some people like to categorize their shots - either by placing them in separate folders or bins, or even color-coding your clips.
3. Consult Your Script. Always.
Make sure you've printed off your script so you can ensure that your video matches your script. I've found that sometimes it even helps to write a description of the shots you'd like to use on your script before you get to the editing bays - just so you have a clear game plan of how to lay out your story on a timeline. Never edit video without your script.
4. Lead With Your Best Footage
This connects back to how your write your script - try to lead with your most interesting shots. This will draw the viewers in, and keep them hooked to your story. If a fire burned down 10 houses in a neighborhood, you absolutely need to start with that footage. Don't fall under the misconception that you have to lead up to your most interesting shots.
5. Use More Medium & Tight Shots Than Wide
Establishing shots (wide shots), are vital to a story. However, once the space is established, feel free to use more medium and tight shots. These convey more emotion, and tell a story better than an endless series of wide shots.
6. Stabilize Shaky Footage
Most video editing software comes with a stabilizing footage. This filter is a life-saver when it comes to using hand-held footage, or even shots that are shaky because of high winds, or other factors.
7. Color Correct
Although white balancing is important, it doesn't always mean your footage will have perfect color balance. This is where color correcting filters come into play. Be careful to not be too drastic with your corrections, or it will be obvious to the viewer. For example, if a specific shot is almost completely blacked out (let's say you were shooting outside at night) - you shouldn't try to make it as bright as it would be in the daylight. In this instance, color correcting probably won't fix the problem, and you probably shouldn't use that shot at all.
The image above is the perfect example of a subtle, yet effective color correction.
8. Correct Audio
The general rule I've learned is to keep your interview and VO tracks bouncing around the -6 range. NAT sound should be kept around -18 to -20, but it's up to you to determine a balanced audio mix.
9. Cross Fade NAT Sound
By using a cross fade filter, the transition between your NAT sound tracks will sound much smoother than if you were to leave them untouched.
10. Utilize Your NAT Sound
Interesting audio can be one of the most exciting and enhancing elements of a story. Don't be afraid to incorporate NAT pops to really bring your story-telling to life. For example, if your story is about construction, a NAT sound pop of heavy machinery would be fitting. Another excellent type of story to include NAT pops in is stories about motorcycles.
11. Re-Watch Your Story
No matter how tight of a deadline you're on, always re-watch your story before exporting it. Be sure to watch out for accidental black frames, jump cuts, or shaky footage.
Additional Resources:
Or, if you're more into watching videos than reading about tips, click here to get five editing tips for great video.
How To Capture Outstanding Broadcast Footage
One of the things I love most about TV journalism is the ability to show the viewer, rather than just telling them. There's something very cool about showing viewers what they might not see otherwise.
Is every story you're assigned going to be visually stimulating? Sadly, no. But by following some of the tips below, you can make the most out of any story, especially the visually appealing ones (i.e. floods, fires, tornadoes, carnivals, plane footage, etc.).
1. Wide, Medium, & Tight Shots
This is one of the first lessons I learned in my first Video Production class. There's nothing worse than spending a couple of hours on a shoot, and then getting back to the editing bays and realizing you don't have a wide shot of the giant protest that was happening at 5th street.
Don't ever forget to gather each of these three shots. It'll make things so much easier when you're editing your footage.
2. Get Footage Of Your Interviews
Like most lessons, I learned this one the hard way. I worked as a video journalist this summer, which means I shot, edited, and wrote all of my own stories without the assistance of a photographer. One day, for whatever reason, one of the station's photographers was editing my story for me, since he had already shot a majority of the footage needed for the piece. It was like Christmas, until he asked me where my secondary shots of my interview subject were.
It all goes back to writing to your video. You can't talk about Sally if you don't have any footage of Sally. Just like my photographer couldn't find a good shot to use when I was introducing my interview, because I had no footage of them except for their interview.
If you're shooting by yourself, the process of getting additional footage of your interview can be awkward, but you get used to it.
Depending on the type of story, you can have them do some sort of action - i.e. picking plants out of a garden, or riding their bike up and down the street.
You can also jump into the frame yourself and simply act like you're talking to your subject. This two-shot is very useful in the editing process.
3. Don't Be Afraid To Get Close
Zooms are amazing. I have no idea how I would do my job without them. They come in handy in so many situations when you're not able to get close to a scene (this is especially true when dealing with car accidents and crime scenes). However, it's important not to rely on the zoom when you are capable of getting closer.
Don't be afraid to bring your camera and tripod right next to that sizzling steak on the grill, or the antique piano that's been in a family for four generations.
4. Move Around
When you're on a shoot, make sure you're not standing in the same spot for too long. Don't be afraid to get up and move around. Sometimes, you never know what type of shot you're going to get from a different angle or perspective. That being said, remember that you're not just shooting randomly - you're always shooting in a coherent sequence.
Click here to learn more about shooting in sequences.
You also need to remember the 180 degree rule, as illustrated below. Don't shoot from the other side of that line, or you run the risk of visually jarring the viewers.
5. Manual Focus On All Interviews
Auto focus, just like the zoom feature, is awesome. Except for when you're shooting interviews. In that moment, your subject's face is the most important thing on the screen. You can't run the risk of that prominent object being out of focus because a bird flew in the background and demanded your auto focus' attention. Using manual focus ensures that this won't happen to you.
6. Have Extra Batteries With You At All Times
You have to be prepared for any situation. Make sure you have enough batteries to re-load all of your microphones, etc. at least once.
7. Always Have A Light
Dimly, or florescent-lit interviews are the worst. Always bring light kits with you. They may be a pain to haul around, along with your tripod, camera, and microphones, but you'll be thankful for that light when you're standing in a high school gym with dim, blue-ish overhead lighting. It's amazing the difference that one small light can make. Don't leave home without it.
(PSA: Most of these lights get very hot, very fast. Avoid a painful burn by using caution, and letting the lights cool down a bit before you pack them up)
8. Don't Be Afraid To Go Hand-Held
Sometimes, you can get even better shots by taking your camera off of its tripod.
Check out these tips to get solid, usable hand-held footage.
9. Wear Headphones At All Times
Most cameras have bouncing audio levels on their digital screens, but this doesn't mean your audio is being recorded correctly. One of your microphones could be unplugged, off, or out of batteries. Even worse, you could have two microphones attempting to transmit to the same audio channel, which results in a terrible sound (Been there, done that. It's bad. Avoid it at all costs).
To dodge these regrettable situations, always have a pair of headphones plugged into your camera. They don't have to be fancy - the simple Apple earbuds that come with all iPhones will do just fine. Keep these devices in your ears as much as possible to ensure the best capture of sound, (especially during your interview).
10. White-Balancing Is Your Friend
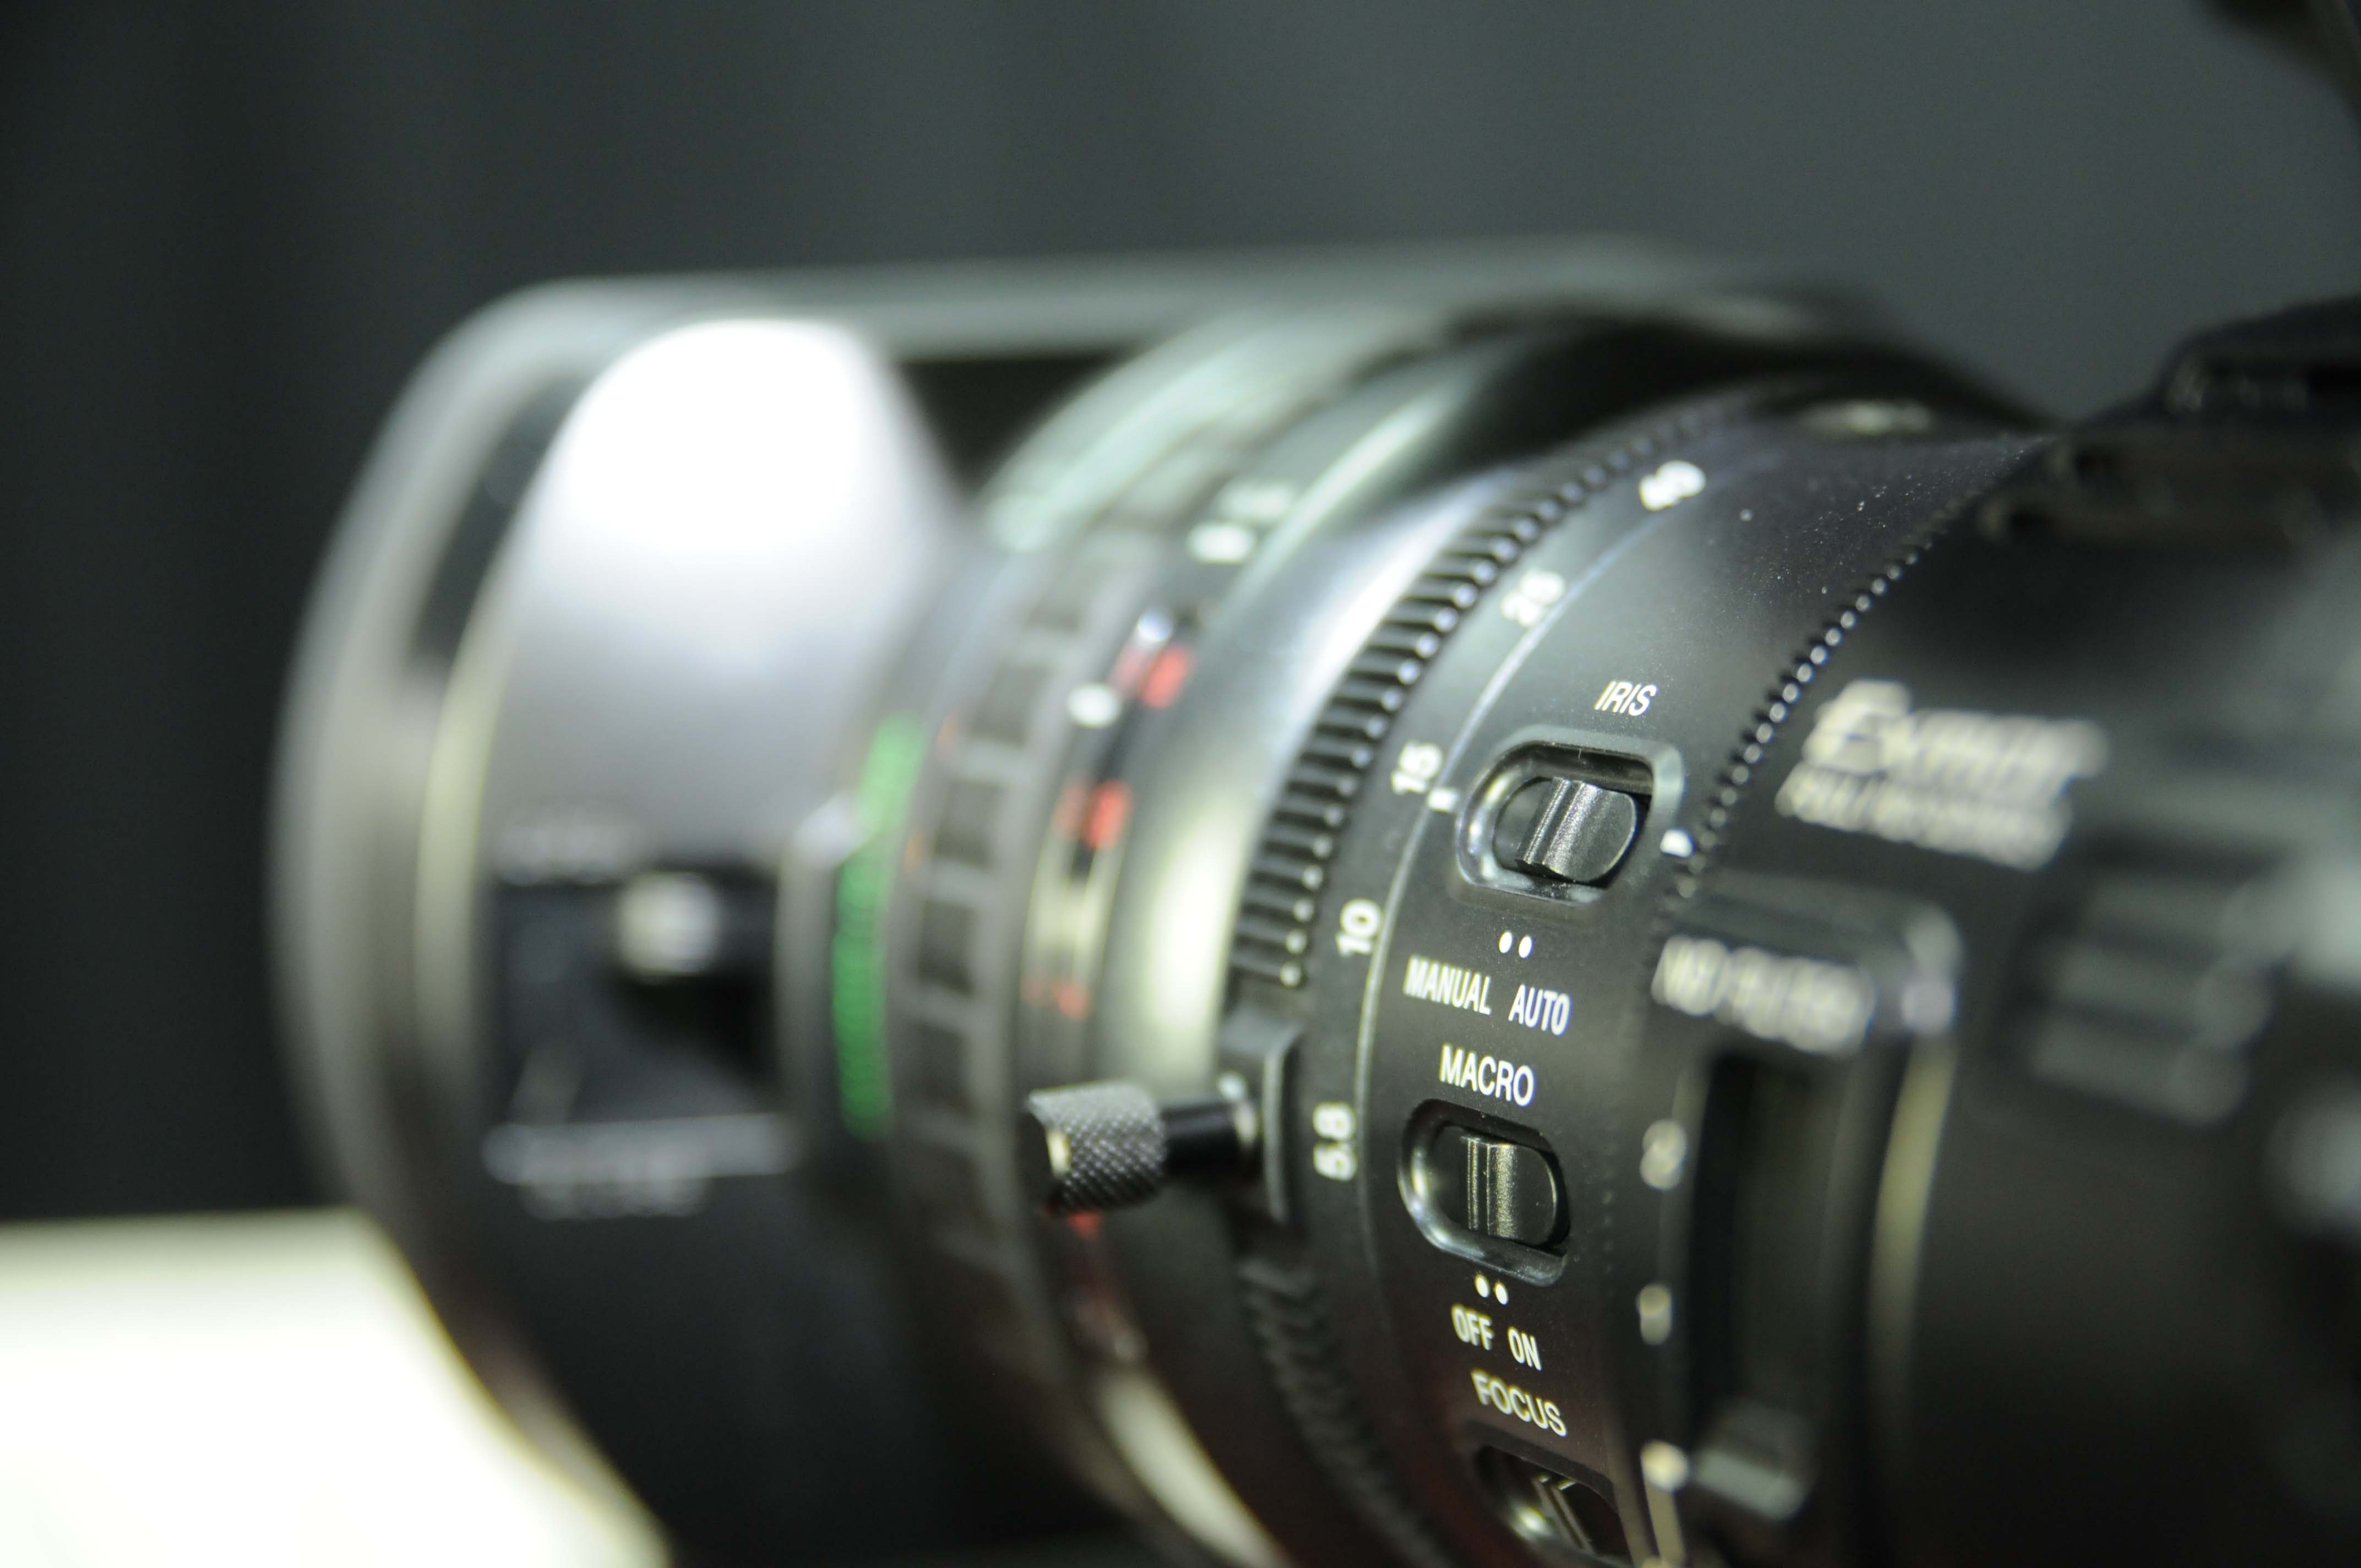
It sounds unnecessary when you have auto-iris capabilities, but just like I mentioned earlier with the manual focus during interviews, it's better to not leave these types of things up to chance. It's simple to avoid a blue-ish tinted interview. Just hold the white piece of paper in front of the camera and press the iris button.
Is every story you're assigned going to be visually stimulating? Sadly, no. But by following some of the tips below, you can make the most out of any story, especially the visually appealing ones (i.e. floods, fires, tornadoes, carnivals, plane footage, etc.).
1. Wide, Medium, & Tight Shots
This is one of the first lessons I learned in my first Video Production class. There's nothing worse than spending a couple of hours on a shoot, and then getting back to the editing bays and realizing you don't have a wide shot of the giant protest that was happening at 5th street.
Don't ever forget to gather each of these three shots. It'll make things so much easier when you're editing your footage.
2. Get Footage Of Your Interviews
Like most lessons, I learned this one the hard way. I worked as a video journalist this summer, which means I shot, edited, and wrote all of my own stories without the assistance of a photographer. One day, for whatever reason, one of the station's photographers was editing my story for me, since he had already shot a majority of the footage needed for the piece. It was like Christmas, until he asked me where my secondary shots of my interview subject were.
It all goes back to writing to your video. You can't talk about Sally if you don't have any footage of Sally. Just like my photographer couldn't find a good shot to use when I was introducing my interview, because I had no footage of them except for their interview.
If you're shooting by yourself, the process of getting additional footage of your interview can be awkward, but you get used to it.
Depending on the type of story, you can have them do some sort of action - i.e. picking plants out of a garden, or riding their bike up and down the street.
You can also jump into the frame yourself and simply act like you're talking to your subject. This two-shot is very useful in the editing process.
3. Don't Be Afraid To Get Close
Zooms are amazing. I have no idea how I would do my job without them. They come in handy in so many situations when you're not able to get close to a scene (this is especially true when dealing with car accidents and crime scenes). However, it's important not to rely on the zoom when you are capable of getting closer.
Don't be afraid to bring your camera and tripod right next to that sizzling steak on the grill, or the antique piano that's been in a family for four generations.
4. Move Around
When you're on a shoot, make sure you're not standing in the same spot for too long. Don't be afraid to get up and move around. Sometimes, you never know what type of shot you're going to get from a different angle or perspective. That being said, remember that you're not just shooting randomly - you're always shooting in a coherent sequence.
Click here to learn more about shooting in sequences.
You also need to remember the 180 degree rule, as illustrated below. Don't shoot from the other side of that line, or you run the risk of visually jarring the viewers.
5. Manual Focus On All Interviews
Auto focus, just like the zoom feature, is awesome. Except for when you're shooting interviews. In that moment, your subject's face is the most important thing on the screen. You can't run the risk of that prominent object being out of focus because a bird flew in the background and demanded your auto focus' attention. Using manual focus ensures that this won't happen to you.
6. Have Extra Batteries With You At All Times
You have to be prepared for any situation. Make sure you have enough batteries to re-load all of your microphones, etc. at least once.
7. Always Have A Light
Dimly, or florescent-lit interviews are the worst. Always bring light kits with you. They may be a pain to haul around, along with your tripod, camera, and microphones, but you'll be thankful for that light when you're standing in a high school gym with dim, blue-ish overhead lighting. It's amazing the difference that one small light can make. Don't leave home without it.
(PSA: Most of these lights get very hot, very fast. Avoid a painful burn by using caution, and letting the lights cool down a bit before you pack them up)
8. Don't Be Afraid To Go Hand-Held
Sometimes, you can get even better shots by taking your camera off of its tripod.
Check out these tips to get solid, usable hand-held footage.
9. Wear Headphones At All Times
Most cameras have bouncing audio levels on their digital screens, but this doesn't mean your audio is being recorded correctly. One of your microphones could be unplugged, off, or out of batteries. Even worse, you could have two microphones attempting to transmit to the same audio channel, which results in a terrible sound (Been there, done that. It's bad. Avoid it at all costs).
To dodge these regrettable situations, always have a pair of headphones plugged into your camera. They don't have to be fancy - the simple Apple earbuds that come with all iPhones will do just fine. Keep these devices in your ears as much as possible to ensure the best capture of sound, (especially during your interview).
10. White-Balancing Is Your Friend
It sounds unnecessary when you have auto-iris capabilities, but just like I mentioned earlier with the manual focus during interviews, it's better to not leave these types of things up to chance. It's simple to avoid a blue-ish tinted interview. Just hold the white piece of paper in front of the camera and press the iris button.
Simple Tips For Broadcast Writing
During my first of year at the University of South Dakota's Media & Journalism Department, I was focused on writing for our weekly student-run newspaper, The Volante. While I enjoyed my time here, I ultimately made the switch to broadcast journalism, (for many reasons, but that's a different blog post entirely). In typical freshman fashion, I thought that the writing skills I had acquired at The Volante would seamlessly transfer over to writing for our campus' weekly TV newscast.
I was wrong.
Writing for print and writing for broadcast are two completely different animals. I can't even tell you how long it took me to switch from print to broadcast style. Thankfully, I've had some excellent teachers and mentors along the way, and I can confidently say that writing in broadcast style is pretty much second nature to me now.
But, as I've said, it wasn't always this way. I had to endure a lot of friendly reminders, marked-up scripts, and an infinite amount of time sitting at my editor's desk to learn what I have, (and I'm not even close to knowing everything there is to know about broadcast writing). However, I do know a lot of simple steps that will save you the heartache of listening to your editor correct the same thing over and over again in your scripts.
1. "Says," NEVER "Said"
In TV journalism, it's all about staying current and up-to-date with the latest information. The key is to make everything sound timely and useful for the viewer right now. That's why we use "says," and NEVER "said." The verb "said" implies a past-tense, and we want the viewers to be present. That's why we always use "says" when attributing information to a source.
Example: "President Abbott says the university is trying its hardest to rectify the situation."
2. Keep Your Writing Simple
There's nothing more distracting than listening to a news anchor stumble over the nightly news. Although a lot of this often has to do with the level of talent possessed by the anchor, the other side of the story is how the script was written. Although the goal is always to sound educated on-air, the most important thing is to make sure the readers understand what you're saying. Although your freshman year English class may have pushed you to whip out the Thesaurus and search for the "smartest-sounding" word every three sentences, that's not what broadcast writing is about. If the average viewer, (lower your academic standards quite a bit for this one), isn't going to recognize the word, then don't use it.
This simple rule is especially applicable when writing about somewhat confusing topics, such as a scientific break-through, and extensive surgical research. Avoid the big, confusing words, but if you have to use them, be sure to break it down and explain it for the viewer.
I.e. "(insert big medical term here) means the difference between blah blah blah blah."
3. Keep Your Writing Conversational
You want your writing to sound like you're talking to your mother or grandmother. While it sounds proper and educated, you still want it to be easy to listen to. You're not writing a creative novel here. You're writing news. Write as if you're having a conversation with someone.
I.e. "The students traversed through the Muenster University Center while conversing with fellow scholars about the studies of molecular biology."
No. Absolutely not. Throw that sentence away. Forever.
(Notice how I made the font color a disgusting yellow color? That's to persuade you into never writing like that. Because it looks, and sounds like garbage).
Here it is again, in broadcast style.
"A group of students walks through the MUC while discussing the study of molecules."
4. Active Voice, Never Passive Voice
This is a big one. I'll admit that distinguishing between active and passive voice is harder than changing "said" to "says." But the more you seek out active voice in your broadcast writing, the easier it becomes to use, and the easier it becomes to spot those pesky passive sentences. (For educational purposes, I'm highlighting everything about active voice blue. Pay attention to the blue - always follow the blue).
The main difference between active and passive voice is how the subject is represented. In passive voice, the subject is receiving the verb, and in active voice, the subject is performing the verb. The picture below perfectly sums up the difference between the two.
Here's another example:
PASSIVE: "George was arrested by police for possession of marijuana."
ACTIVE: "Police arrested George for possession of marijuana."
5. Write To Your Video
I'll discuss this more when I get to my Blog about video shooting, (stay tuned!), but it's an important concept to master early on. It's easy to write a random paragraph of words that doesn't match up with what the viewer is seeing on their screen. Good broadcast journalists write copy that compliments the video. For example, let's say you're writing a story about Carla, and her battle with cancer. If your copy is detailing how many months she spent in the hospital, the best visual to pair with this would be either video of her in the hospital, or a picture of her in the hospital.
A quick anecdote for you to illustrate how important this tip is:
This summer, I was covering a charity event for the Make-A-Wish Foundation that involved a car show. I talked to several families whose children had been granted wishes, and it was a really touching story. I was very happy with how the script turned out, but when I sat down to edit the footage to my script, I found that all I had was shots of cars. Of course, this didn't match up with what I was talking about, and the whole story was just off. Did I get fired? No. Did I learn a valuable lesson? Yes.
Don't show cars when you're focusing on cancer.
6. Don't Waste The Viewer's Time
I've seen this a lot in scripts, where writers take up two to three sentences simply saying that people filed into an auditorium to hear a speaker talk about topic X, Y, and Z. They continue to outline who introduced the speaker, and explain that there was a question/answer portion of the program before everyone stood and clapped, and the program was over after that.
After reading that paragraph, what did you learn? Not much.
When writing for broadcast (or any form of journalism, really), you have to make sure the reader leaves your story with valuable information.
Instead of talking about how students "listened intently to the speaker," get rid of that sentence, and tell me something interesting that the speaker said. Write your copy around an inspiring, or funny anecdote he or she shared.
7. ALWAYS Read Your Copy Out-Loud Before Taking It To An Editor
I firmly believe that the above image is one of a reporter's worst nightmares, (right next to missing a deadline). If you'd like to avoid a scenario where you're silently weeping in the bathroom over your blood-red edited script, follow this rule.
It's easy to think that everything you write is going to sound beautiful and fluent once you're voicing it in the audio booth, but that is a major misconception. To avoid run-on sentences, repeated words, and a whole mess of other writing faux pas, please read your script out loud before you have an editor approve it. No one in the newsroom will judge you, I promise.
8. Contractions. Contractions. Contractions.
This one is very self-explanatory, but very important. When you can, always use contractions. It makes your writing sound more conversational.
____________________________________________________________________
Additional Materials:

What I've written is just a taste of the broadcast writing tips out there. Check out this article for more on how to write a flawless TV news script.
And for more on the ever-prevalent issue of active v. passive voice, let the folks at OWL lend you a hand.
Monday, September 21, 2015
The On-Air Appearance of a TV Journalist
Ever since I was little, people have been telling me to not judge a book by it's cover. Although this is an applicable piece of advice for many scenarios, unfortunately, what reporters wear on TV is not one of them.
Let's face it. Everyone, including my sweet little old grandparents, judges the attire that news men and women wear on-air, (since I am a woman, this blog is going to focus exclusively on the female appearance).
"Who let her wear that color on air?"
"That hairstyle is... interesting..."
"Could her makeup be any thicker?"
"Is she reporting the news, or going out to a club? That dress is way too tight."
Like it or not, these are all accurate representations of how people judge news reporters for their wardrobes, along with hair and makeup choices. Viewers are a judgmental bunch, and although I've never cared about whether people think I'm drop-dead-gorgeous or not, how you look can be the difference between good ratings, and terrible ratings. It can also be the difference between your audience paying attention to what you're saying, or what you're wearing.
So how does a new reporter fresh out of college avoid certain fashion faux pas on TV? What is and isn't acceptable? How do you maintain a professional look?
Although I am certainly no expert, after two summers of on-air experience with a local TV news station, and nearly four with my student-run campus TV newscast, here are a few things I've learned/read up on.
1. Solids. Solids. Solids.
There's nothing worse than a loud, confusing pattern on your dress to scare viewers away. When in doubt, always purchase the solid dress over one with even a slight pattern.
Plus, wearing a solid dress means you have more flexibility when it comes to the color, as well as what jewelry you can wear with it.
2. Put. The Cleavage. AWAY.
No one should be gawking at your cleavage while you are telling them about the latest house fire or train derailment. They should be staring at your face, listening to your words, and watching the video rolling on the screen.
Though some people may believe that cleavage boosts ratings, I think it conveys an unprofessional, tacky tone - definitely not something you want people to think of you.
When someone is watching you on the evening news, or a possible future employer is looking at your resume tape, do you want them to remember your breasts? No. You don't. (If you do, you should maybe get out of the journalism industry). You want them to remember how your delivery sounded, what your footage looked like, and how you conducted yourself on-air. So keep your low-cut V-necks and "clubbing" tops at home, and go for the higher necklines. You'll thank me later.
Side note: You also shouldn't be wearing dresses with blatantly short hemlines. Gone are the days when newswomen weren't allowed to show their legs, but we still need to keep it classy. If there's even the slightest possibility of someone seeing your behind if you bend down, get rid of it.
3. Keep Your Hair Color Natural-Looking
This point is pretty self-explanatory. Natural-looking blonde, brown, black, and red shades are acceptable. Conversely, bleach blonde, grey, and crayon-red are not acceptable variations on the above-listed colors.
(Full disclosure: I have red hair, but I have kept it at a tame shade for TV, much like Emma Stone up above). This should go without saying, but don't even think about dying your hair purple, blue, or green, (it's a trend these days).
4. Avoid "Loud" Jewelry
This image is a prime example of what not to wear. Viewers shouldn't be distracted by a flashing piece of "bling" hanging around your neck, or on your ears. Keep your jewelry choices simple and non-distracting.
5. Your Makeup Should Provide Full Coverage
My final tidbit of advice for TV journalists is to give the illusion that you're wearing no makeup, while still covering up skin imperfections. How do we achieve this? It's a beautiful invention called an airbrush, and every female (and male) reporter should know how to use one. These brilliant gadgets help cover up what the harsh HD cameras try to expose (red spots, scars, pimples, etc.)
USE CAUTION. Over-applying airbrush makeup can lead to your skin looking "caked" with makeup. This is bad, and should be avoided.
Glittery eye makeup, bold shades of lipstick, and excessive eyeliner should also be avoided at all costs. Remember, you don't want the viewer to be distracted by your appearance... ever.
Additional Resources:
It's a few years old, but this is a very well-written article from the Washington Post about how the look of TV newswomen has evolved over time.
Also - check out some more helpful tips on how to maintain a professional look on-air.
Let's face it. Everyone, including my sweet little old grandparents, judges the attire that news men and women wear on-air, (since I am a woman, this blog is going to focus exclusively on the female appearance).
"Who let her wear that color on air?"
"That hairstyle is... interesting..."
"Could her makeup be any thicker?"
"Is she reporting the news, or going out to a club? That dress is way too tight."
Like it or not, these are all accurate representations of how people judge news reporters for their wardrobes, along with hair and makeup choices. Viewers are a judgmental bunch, and although I've never cared about whether people think I'm drop-dead-gorgeous or not, how you look can be the difference between good ratings, and terrible ratings. It can also be the difference between your audience paying attention to what you're saying, or what you're wearing.
So how does a new reporter fresh out of college avoid certain fashion faux pas on TV? What is and isn't acceptable? How do you maintain a professional look?
Although I am certainly no expert, after two summers of on-air experience with a local TV news station, and nearly four with my student-run campus TV newscast, here are a few things I've learned/read up on.
1. Solids. Solids. Solids.
There's nothing worse than a loud, confusing pattern on your dress to scare viewers away. When in doubt, always purchase the solid dress over one with even a slight pattern.
Plus, wearing a solid dress means you have more flexibility when it comes to the color, as well as what jewelry you can wear with it.
2. Put. The Cleavage. AWAY.
Though some people may believe that cleavage boosts ratings, I think it conveys an unprofessional, tacky tone - definitely not something you want people to think of you.
When someone is watching you on the evening news, or a possible future employer is looking at your resume tape, do you want them to remember your breasts? No. You don't. (If you do, you should maybe get out of the journalism industry). You want them to remember how your delivery sounded, what your footage looked like, and how you conducted yourself on-air. So keep your low-cut V-necks and "clubbing" tops at home, and go for the higher necklines. You'll thank me later.
Side note: You also shouldn't be wearing dresses with blatantly short hemlines. Gone are the days when newswomen weren't allowed to show their legs, but we still need to keep it classy. If there's even the slightest possibility of someone seeing your behind if you bend down, get rid of it.
3. Keep Your Hair Color Natural-Looking
(Full disclosure: I have red hair, but I have kept it at a tame shade for TV, much like Emma Stone up above). This should go without saying, but don't even think about dying your hair purple, blue, or green, (it's a trend these days).
4. Avoid "Loud" Jewelry
This image is a prime example of what not to wear. Viewers shouldn't be distracted by a flashing piece of "bling" hanging around your neck, or on your ears. Keep your jewelry choices simple and non-distracting.
5. Your Makeup Should Provide Full Coverage
My final tidbit of advice for TV journalists is to give the illusion that you're wearing no makeup, while still covering up skin imperfections. How do we achieve this? It's a beautiful invention called an airbrush, and every female (and male) reporter should know how to use one. These brilliant gadgets help cover up what the harsh HD cameras try to expose (red spots, scars, pimples, etc.)
USE CAUTION. Over-applying airbrush makeup can lead to your skin looking "caked" with makeup. This is bad, and should be avoided.
Glittery eye makeup, bold shades of lipstick, and excessive eyeliner should also be avoided at all costs. Remember, you don't want the viewer to be distracted by your appearance... ever.
Additional Resources:
It's a few years old, but this is a very well-written article from the Washington Post about how the look of TV newswomen has evolved over time.
Also - check out some more helpful tips on how to maintain a professional look on-air.
Thursday, December 11, 2014
How To Keep Your Head Above Water During Finals Week
Final exams have officially started at the University of South Dakota. This means students are pulling all-nighters at the library and residence halls to finish up those final projects, papers, and last-minute study sessions.
For most students, finals week is simultaneous with stress. Although some of this can be positive in keeping individuals focused and awake, continued stress without relief or relaxation leads to negative stress. For example, this happens when a student is studying for a challenging test for five hours without a break. According to WebMD, stress can lead to physical symptoms including headaches, upset stomach, elevated blood pressure, chest pain, and problems sleeping.
Click here to read more about stress-related health issues.
To avoid these complications, there are several tips students can implement to relieve stress at the end of the semester.
1. Find a Quiet, Distraction-Free Place to Study

Although the booths in the MUC next to the 16-screen television wall are comfortable and close to all of your friends, it's best to avoid places like this when studying for finals. By finding a secluded table in the library, you're separating yourself from the distractions that come from television, loud friend groups, and more. Most students find they get more done in this setting.
2. Put. The Phone. Down

In today's technologically advanced world, a large majority of people own smart phones. These handy little devices have the ability to hold hundreds of thousand of apps, including Candy Crush, Words With Friends, Yik Yak, Fade, and Trivia Crack. Although these applications can be entertaining, they can also be addicting. Using Snap Chat, Facebook, Twitter, Instagram, and even texting can be equally distracting. Make an effort to stow your phone away in your backpack or bag, and focus on studying. On that note, avoid distractions on the Internet as well. The requests to play Trivia Crack will still be there when you take a break from studying.
3. Take Breaks

Contrary to popular belief, it's recommended to take breaks while dealing with high-stress situations, such as studying for finals. It's OK to take 15-20 minutes to read a magazine, talk to someone on the phone, or simply browse through Facebook and take your mind off of studying.
4. Treat Yourself

Just as it's OK to take breaks, it's OK to treat yourself during finals week as well. This isn't to say that eating four Big Macs and three large fries from McDonald's is acceptable just because you're stressed, (in fact, that's highly discouraged), but don't feel bad to reward yourself after a long day of studying with some popcorn, or even a soft drink.
5. SLEEP.

You might be saying to yourself, "How in the world can I sleep? I have 4 tests, 3 papers, and 3 projects to complete before next week! There's no TIME for sleep!" Before you reach for that next Red Bull, take a step back and listen. Sleep is vital to several skills you absolutely need during finals, including cognitive ability, memorization skills, information retention, and focus. Without a sufficient amount of sleep, your energy and motivation levels will be low, and keeping your eyes open on your chemistry notes will be that much harder. Strive to get at least seven to eight hours each night. Your grades will thank you later.
6. Manage Your Time Efficiently

Although everyone goes about time management differently, it's extra important to use this skill during finals week. Use whatever method you'd prefer, making lists, time blocks, etc. Just make sure you're managing your time wisely and getting to the things you need to do. For example, don't spend 18 hours studying for one test and only 2 studying for another, just because you allocated too much time to the first exam. The key is to plan, plan, plan.
By following these simple steps, you can relieve stress and make it through finals week without pulling all of your hair out.
To read more tips about how college students can reduce stress, click the links below.
How to Reduce Stress During Finals Week
7 Time Management Tips for Finals Week
For most students, finals week is simultaneous with stress. Although some of this can be positive in keeping individuals focused and awake, continued stress without relief or relaxation leads to negative stress. For example, this happens when a student is studying for a challenging test for five hours without a break. According to WebMD, stress can lead to physical symptoms including headaches, upset stomach, elevated blood pressure, chest pain, and problems sleeping.
Click here to read more about stress-related health issues.
To avoid these complications, there are several tips students can implement to relieve stress at the end of the semester.
1. Find a Quiet, Distraction-Free Place to Study
Although the booths in the MUC next to the 16-screen television wall are comfortable and close to all of your friends, it's best to avoid places like this when studying for finals. By finding a secluded table in the library, you're separating yourself from the distractions that come from television, loud friend groups, and more. Most students find they get more done in this setting.
2. Put. The Phone. Down

In today's technologically advanced world, a large majority of people own smart phones. These handy little devices have the ability to hold hundreds of thousand of apps, including Candy Crush, Words With Friends, Yik Yak, Fade, and Trivia Crack. Although these applications can be entertaining, they can also be addicting. Using Snap Chat, Facebook, Twitter, Instagram, and even texting can be equally distracting. Make an effort to stow your phone away in your backpack or bag, and focus on studying. On that note, avoid distractions on the Internet as well. The requests to play Trivia Crack will still be there when you take a break from studying.
3. Take Breaks
Contrary to popular belief, it's recommended to take breaks while dealing with high-stress situations, such as studying for finals. It's OK to take 15-20 minutes to read a magazine, talk to someone on the phone, or simply browse through Facebook and take your mind off of studying.
4. Treat Yourself

Just as it's OK to take breaks, it's OK to treat yourself during finals week as well. This isn't to say that eating four Big Macs and three large fries from McDonald's is acceptable just because you're stressed, (in fact, that's highly discouraged), but don't feel bad to reward yourself after a long day of studying with some popcorn, or even a soft drink.
5. SLEEP.
You might be saying to yourself, "How in the world can I sleep? I have 4 tests, 3 papers, and 3 projects to complete before next week! There's no TIME for sleep!" Before you reach for that next Red Bull, take a step back and listen. Sleep is vital to several skills you absolutely need during finals, including cognitive ability, memorization skills, information retention, and focus. Without a sufficient amount of sleep, your energy and motivation levels will be low, and keeping your eyes open on your chemistry notes will be that much harder. Strive to get at least seven to eight hours each night. Your grades will thank you later.
6. Manage Your Time Efficiently
Although everyone goes about time management differently, it's extra important to use this skill during finals week. Use whatever method you'd prefer, making lists, time blocks, etc. Just make sure you're managing your time wisely and getting to the things you need to do. For example, don't spend 18 hours studying for one test and only 2 studying for another, just because you allocated too much time to the first exam. The key is to plan, plan, plan.
By following these simple steps, you can relieve stress and make it through finals week without pulling all of your hair out.
To read more tips about how college students can reduce stress, click the links below.
How to Reduce Stress During Finals Week
7 Time Management Tips for Finals Week
Monday, November 3, 2014
This I Believe
I believe that whether good, bad, rich, poor, or dysfunctional, family is one of the most important aspects of a person's life.
The world is full of choices. What cereal should I eat for breakfast? Should I walk or drive to class? Should I finish my homework now or watch an episode of Game of Thrones first? When you think about it, there are a lot of things we have control over. However, family is not one of those things. Despite what some people may like to believe, you cannot choose your biological family. This means that whether you like it or not, this random group of people plays an instrumental role in how you shape up as a human being.
Luckily, I've been blessed with four of the most extraordinary human beings on this crazy planet that just so happen to share my last name. During my 21 years on this Earth, I believe my family has taught me more life lessons than I can even begin to write down.
My older brother, Daniel, is the smartest person I know. In high school, he used to read our old, dusty set of encyclopedias... for fun. And no, I cannot make this stuff up. He taught me the true worth and value of knowledge, and that it's always best to think before you speak.
My older sister, Teresa, is the strongest person I've ever met, or ever will meet. For purposes of this class, I'm going to spare the rather gruesome and emotional details of various things that have happened to, things beyond her control. But I will say this. She is kind, generous, faithful, and hilarious. She taught me what it's like to have a best friend.
My father, Paul, grew up on a very poor farm of 12 children with an alcoholic father. Despite living in southwestern Minnesota town of less than 1,000 people, he gained a college degree. He taught me what it means to truly work for something.
My mother, Sue, lost her mother in a car accident at age 17, four days before Christmas. She was the one driving the car. Even though this event has followed my mother through her adult life, she transferred the tragedy into something she's excelled at ever since: love. My mother used to read me bedtime stories and sang me to sleep each night. She nursed me through the chicken pox, dealt with me during those impossible high school years, and has talked me through countless mental breakdowns. She taught me what it truly means to love someone unconditionally.
My sister just got married in Rapid City a couple of weeks ago. The weekend was perfect, but, like all good things, it eventually came to an end, and it was time for me to make the 6 hour journey back to Vermillion. As I hugged each of them goodbye, I started to choke up, to the point where I could barely speak. I cherish being around each of them so much, that the thought of saying goodbye was too much to take. I think this is when I realized just how important my family is to me. I believe that I wouldn't be the person I am today without this loud, dysfunctional, caring, loving group of people. And I wouldn't have it any other way.
Subscribe to:
Posts (Atom)